

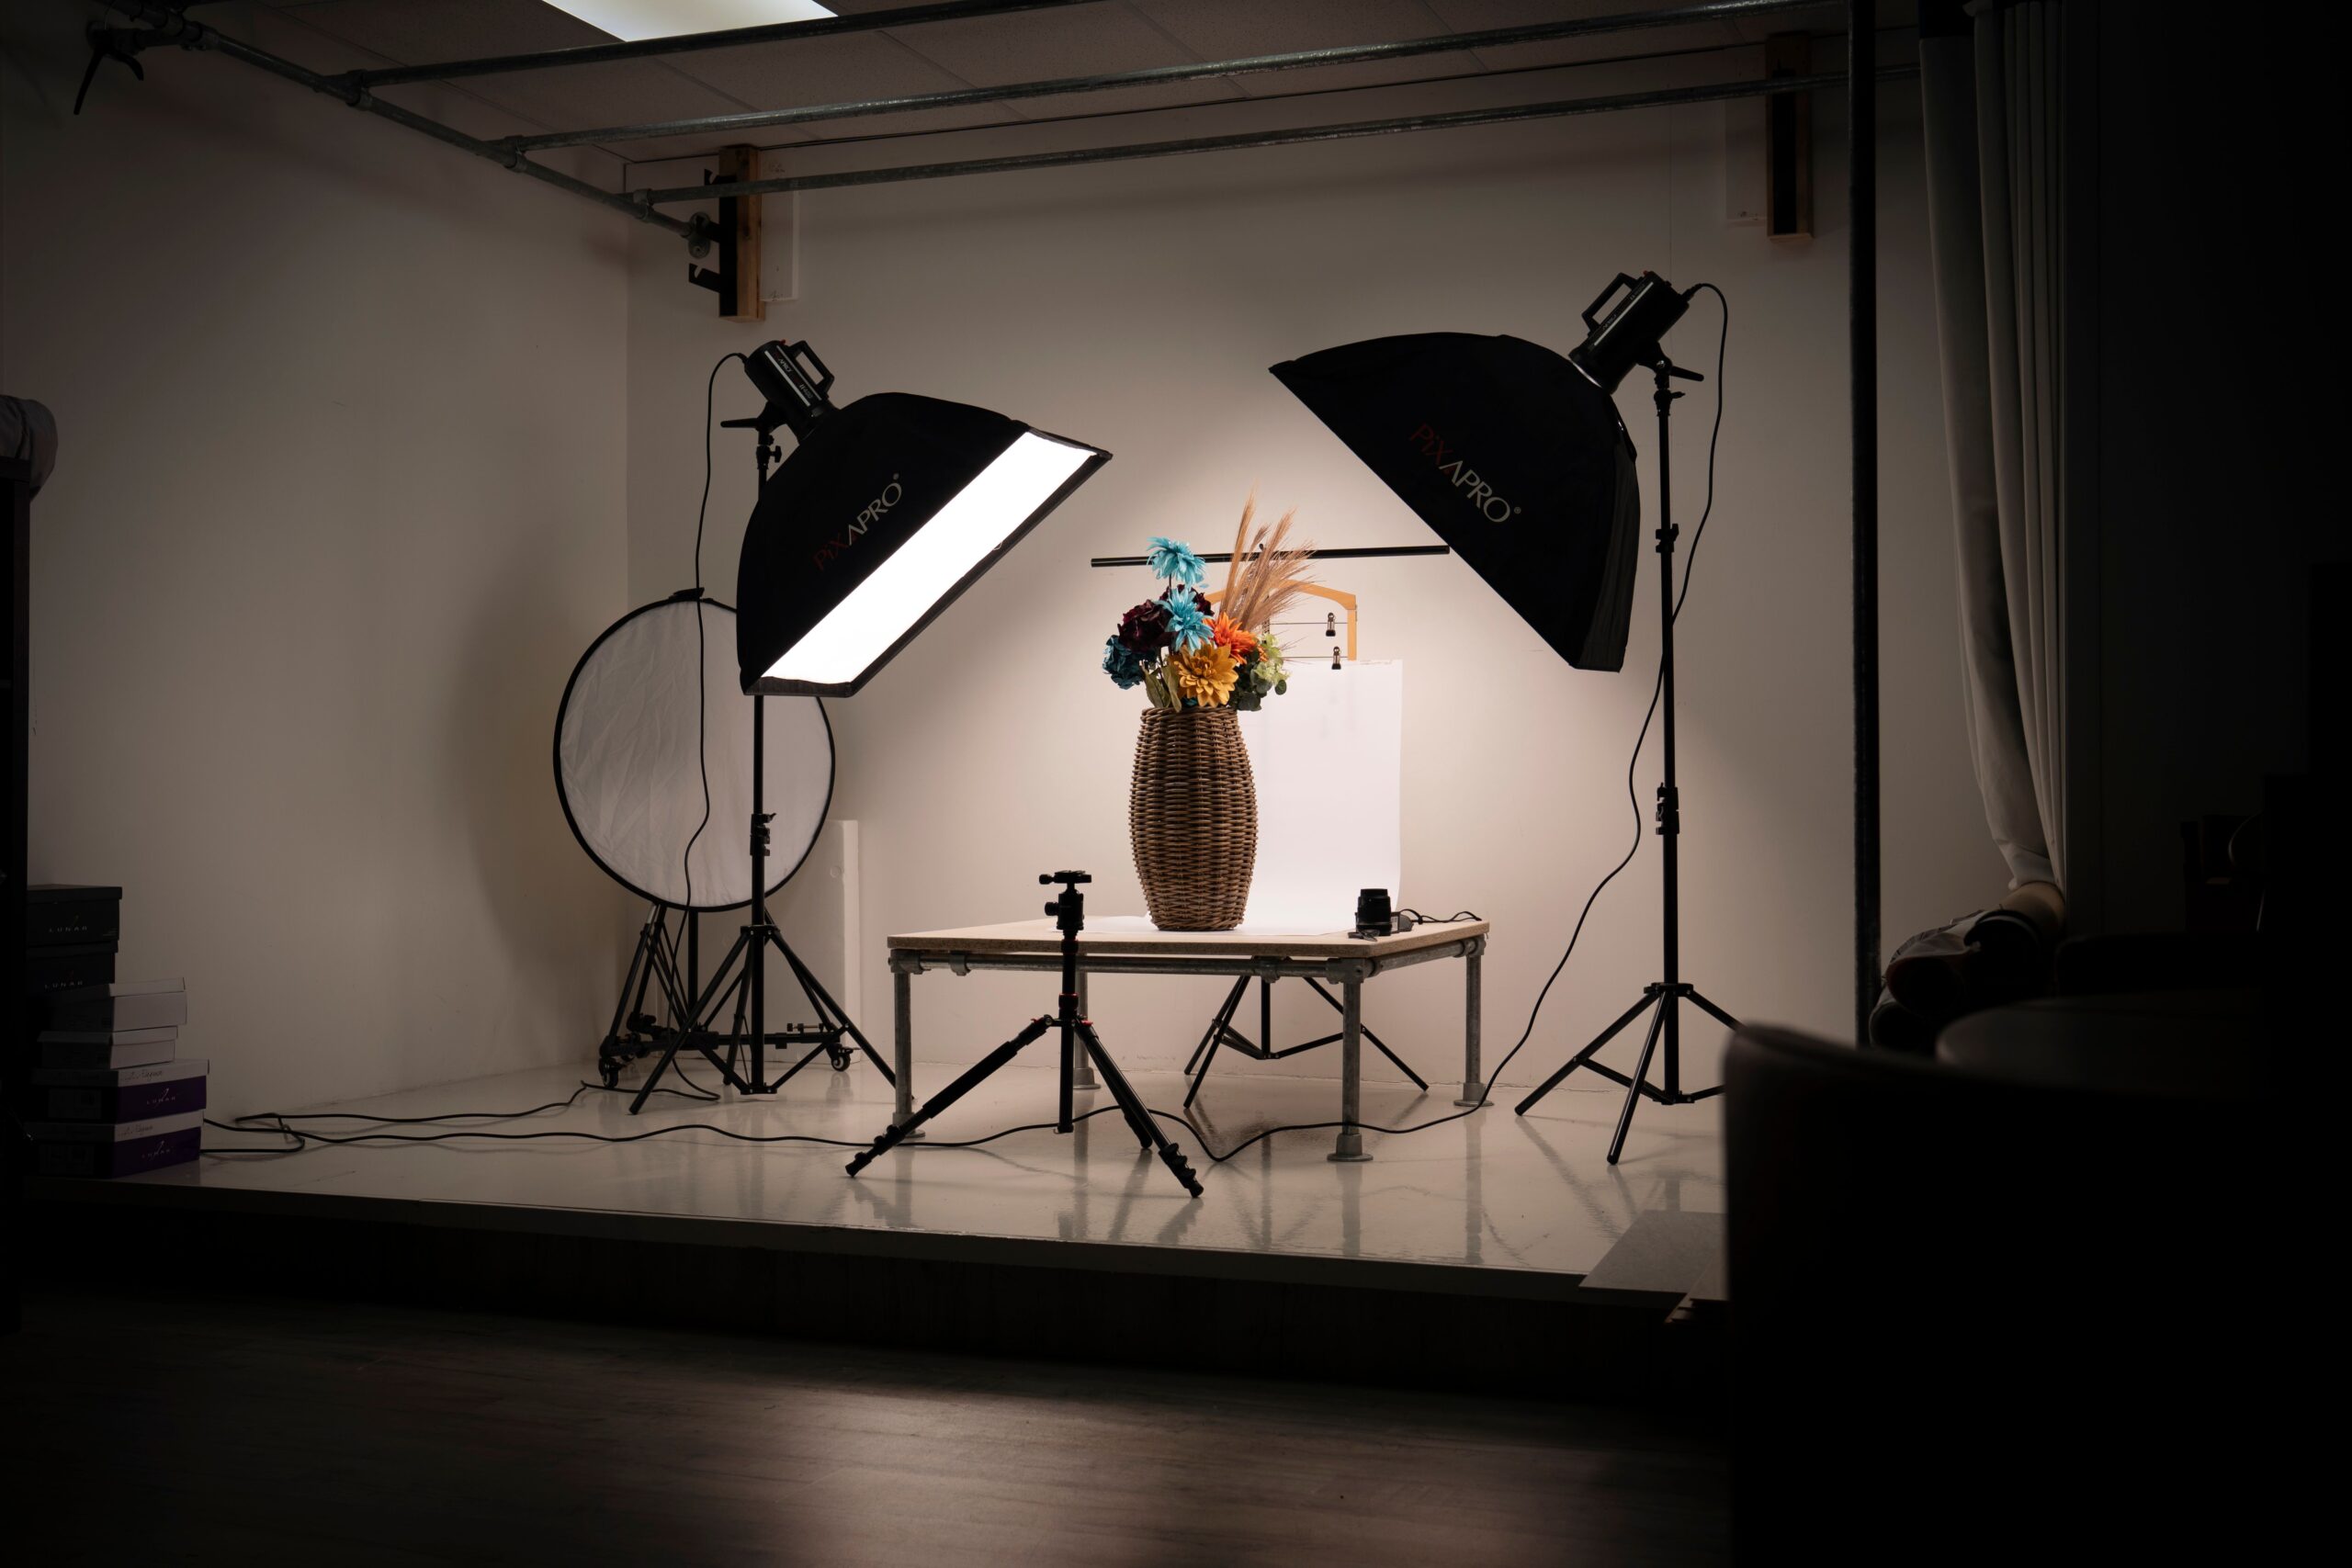
Your products are priced competitively, so why are your ecommerce sales flat? It may be your photos. Product photography plays a critical role in ecommerce and marketing. That’s because online customers can’t touch or feel an item, judge its size, or even hear how it sounds. They rely solely on visuals to decide if they want to purchase an item or not. That’s the power of product photography in boosting sales. Even the smallest of product photography mistakes can impact customer perception and hurt sales. For example, an image that doesn’t show a product’s size can confuse a customer and deter a sale. Beyond showing scale, include poor lighting, busy backgrounds, awkward composition, inconsistency among images, are just some of the common mistakes in which a simple photograph can backfire. The good news? There are just as many ways to address these slip-ups. Here, we’ll discuss some common product photography mistakes and their practical solutions, including lighting strategies, framing, product shot guidelines, and the use of photography displays.
Key Takeaways: Product Photography Mistakes
- High-quality product photography builds trust, improves customer confidence, and can directly increase ecommerce sales.
- Proper lighting, clean backgrounds, and thoughtful composition help products stand out and look more professional.
- Display tools like acrylic risers, pedestals, mirrored cubes, and display stands add height, dimension, and visual interest to product photos.
- Consistent photography styles across your website strengthen your brand identity and create a more polished shopping experience.
- Capturing multiple angles and close-up details helps customers better understand your products and reduces purchase hesitation.
- Minimizing distractions like cluttered backgrounds, excessive props, reflections, and harsh shadows keeps the focus on your merchandise.
- Choosing display solutions that complement your brand aesthetic creates more engaging product photography while showcasing products at their best.
- Investing in the right photography setup and display accessories helps prevent common mistakes and creates images that drive more conversions.
Poor Lighting Creates Unprofessional Images
The Problem
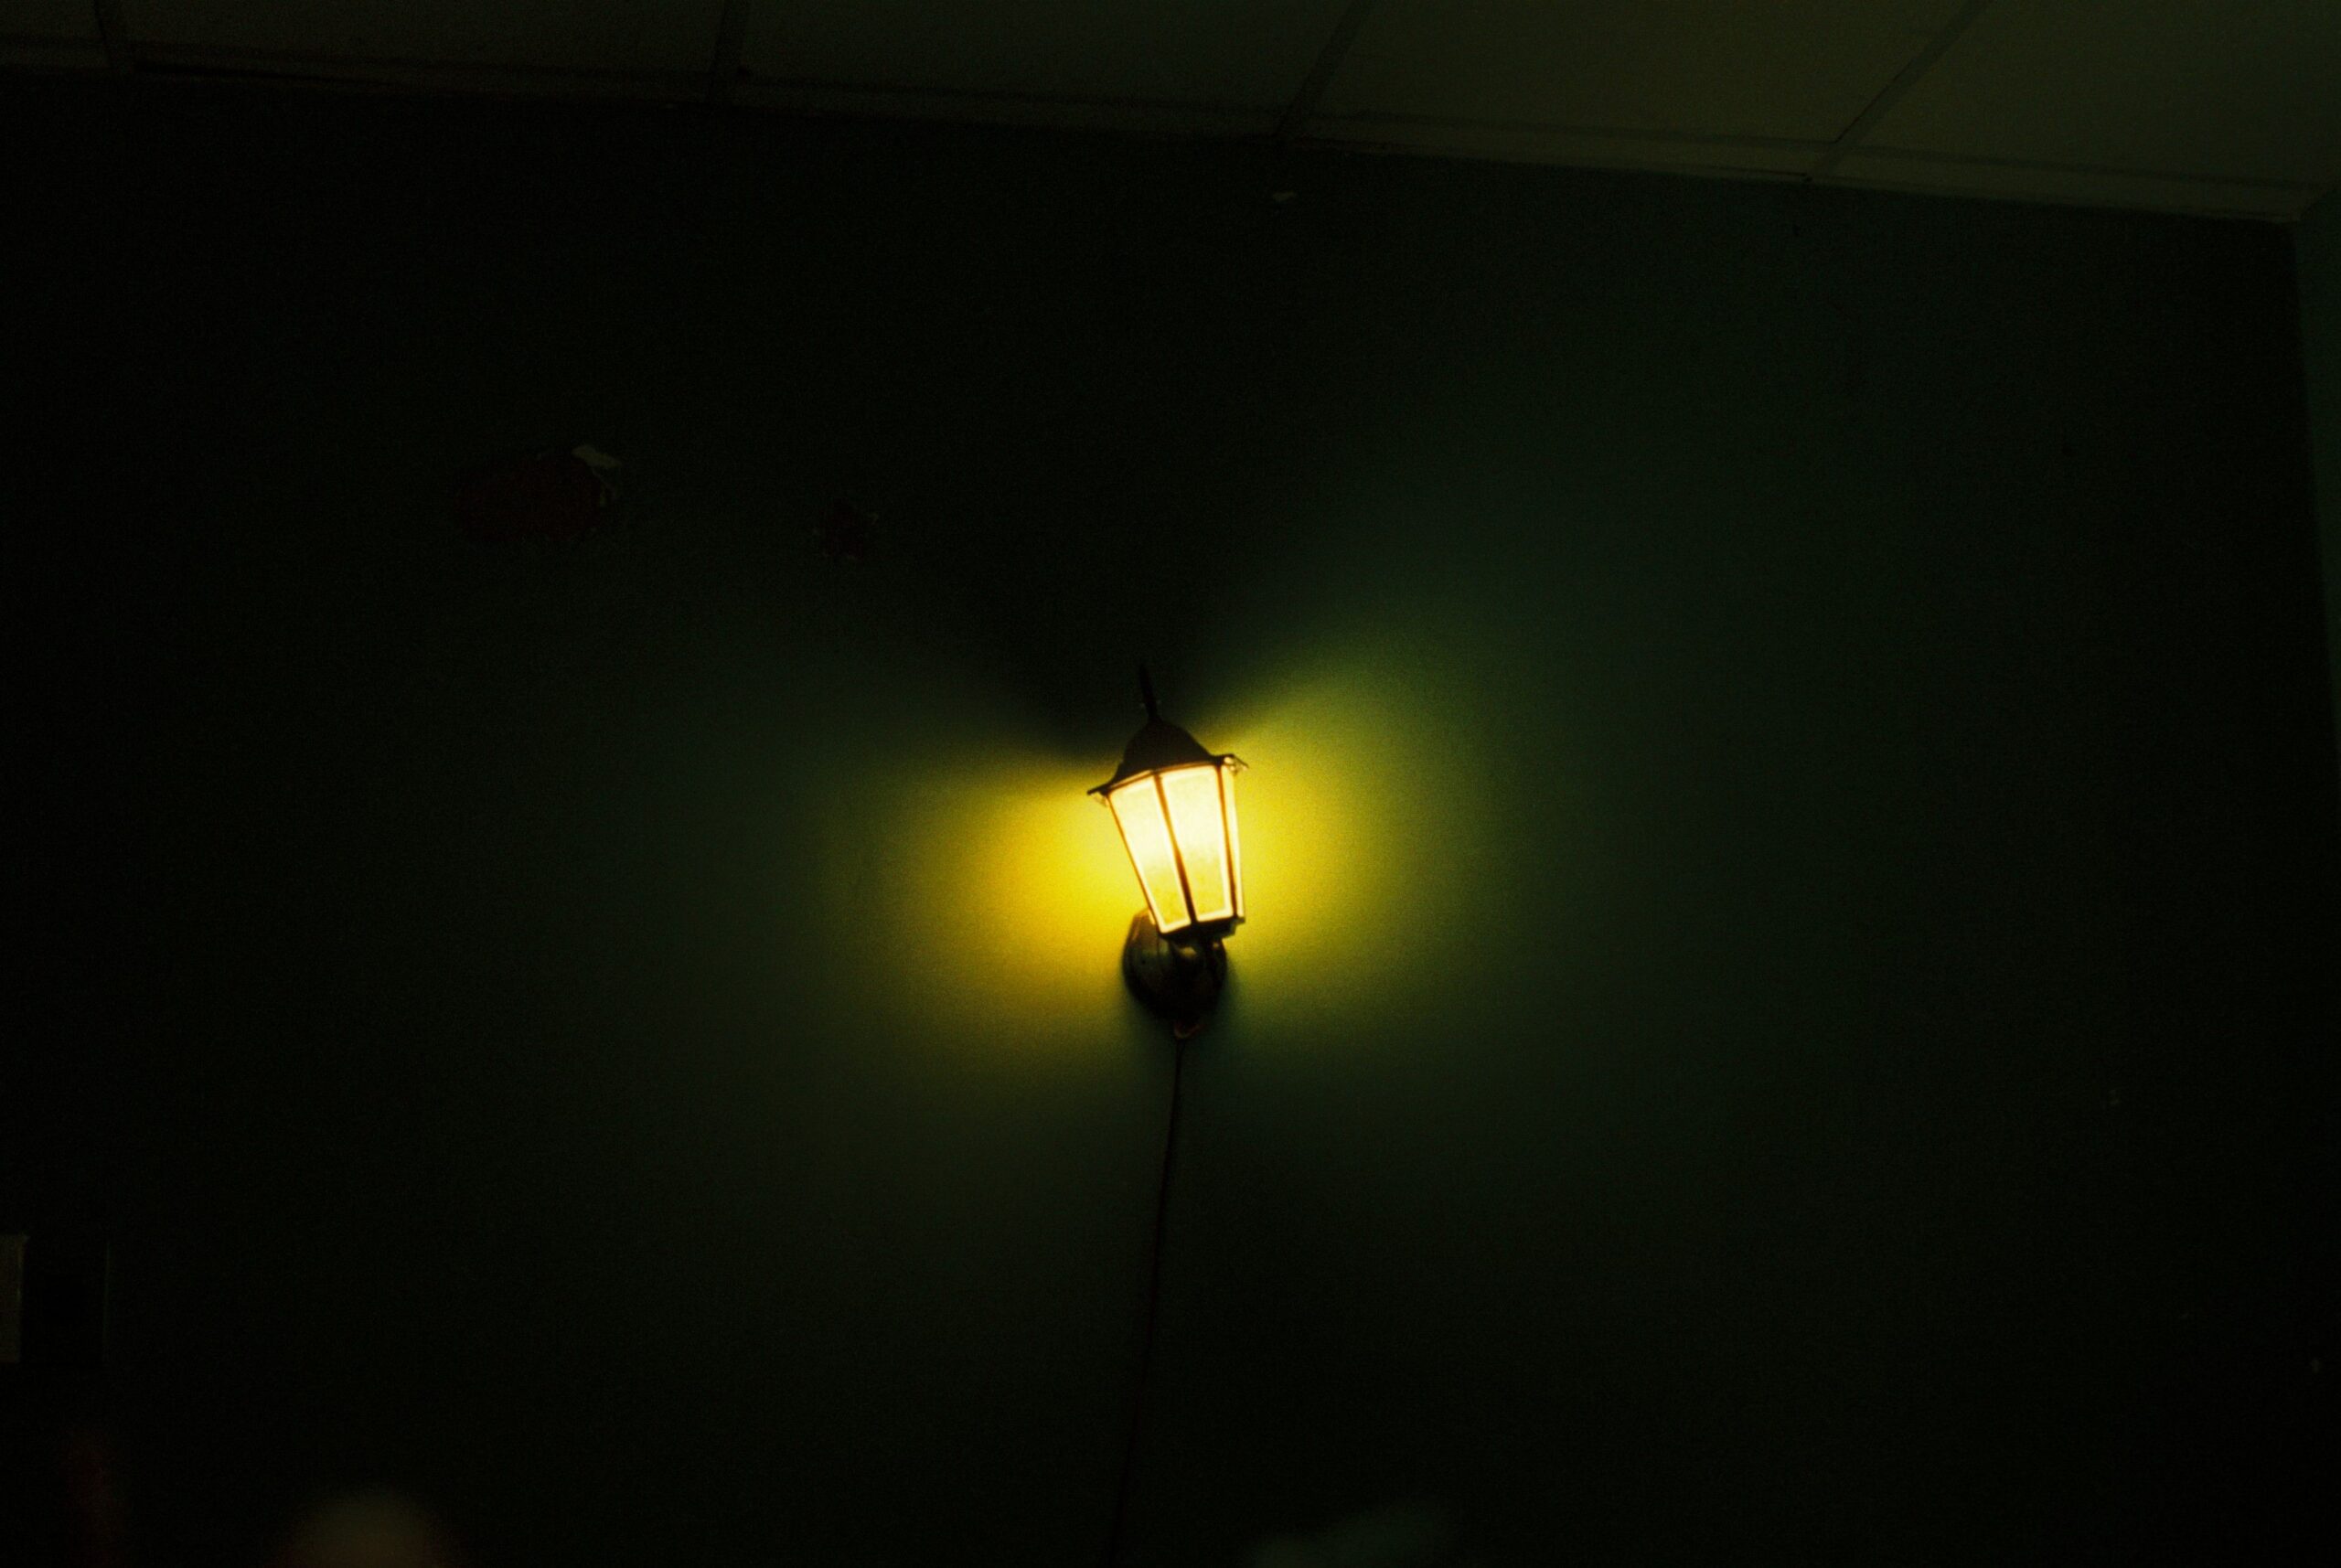
Poor lighting, such as dimly lit rooms or uneven lighting, can create harsh shadows, glares, and overexposed/underexposed images of your product.
How to Avoid It
Don’t showcase your merchandise in poor, or uneven, light. Try these tricks to capture your products in a good light.
Skip the flash. While it seems counterintuitive, avoid using your camera’s flash to brighten the product. Using the flash results in shadows and glares.
Diffuse lighting. To reduce shadows, diffuse the lighting. Use softboxes or, when using natural light, hang a thin white sheet in front of a window to create a soft glow that eliminates shadows.
Test multiple lighting setups. The standard setup for product photography is primary lighting (preferably diffused); fill lighting (or a reflector board) opposite of the primary light; and an accent light positioned behind the product to help the product stand out. Or you can try two softboxes on either side of the product and use speedlights or continuous lights as a fill.
Turn lights off. To correct mixed, uneven lighting, try turning the lights off in the room and rely on sunlight. Using natural light may be all your need to get the right shot. Use a large white foam board as a reflector to direct more light to your product and eliminate harsh shadows. One caveat: the sunlight will change throughout the day and so may your results if you’re shooting over a long period of time.
Helpful Display Solutions: Risers & Pedestals
%201_2_520x520.jpg)
- Acrylic risers and display pedestals can help position products more effectively under lighting. They elevate products to position them optimally for lighting.
Cluttered Backgrounds Distract From the Product
The Problem
A busy scene competes with your merchandise for attention and may cause your products to get lost in the composition of the photo.
How to Avoid It
An uncluttered background is key to keeping the focus on your product. Choose a background that is minimal and clean, such as a blank white wall or a seamless paper roll. If you are shooting with a lifestyle background for storytelling, just make sure it’s not too busy so the focus remains on the product, and not what’s happening in the background. For instance, opt for a solid color background instead of a patterned one to allow product details to be seen. Also, limit the number of props used so they don’t compete with your product for attention.
Helpful Display Solutions: Display Stands
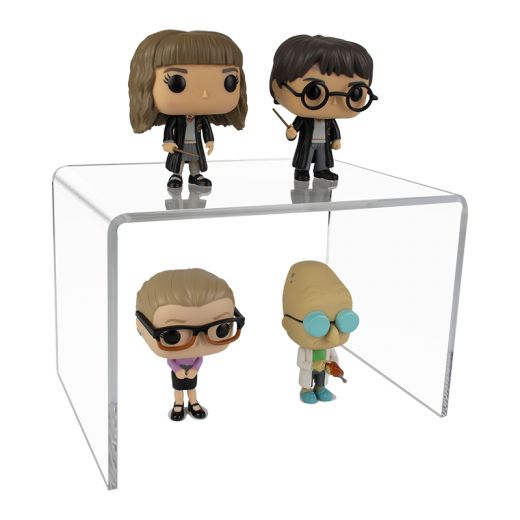
- Clear acrylic display stands create separation from props and backgrounds without adding visual clutter. If your background is busy, choose clear acrylic displays, such as acrylic risers and acrylic blocks and cubes, that disappear into the background so the focus remains on the product.
Lack of Height and Dimension
The Problem
Shooting items like plates, jewelry, artwork, and books can result in flat-looking images. Products also tend to blend into the background if they lack dimension.
How to Avoid It
Create levels to add height and dimension. If you’re shooting multiple items in an image, create multiple levels within the shot. For example, if you sell vintage dishware, place a single teacup on a stack of saucers, arrange dinner, salad, and bread plates on top of each other, and elevate teapot and sugar and cream dishes behind the grouping to ensure all items are visible.
You can also use display stands, risers, and blocks for shooting singular items, such as jewelry, pottery, or accessories like belts and sneakers. For instance, drape a necklace over an acrylic riser to give the item some depth; place pottery or footwear on display cubes to elevate the item. Arrange a plate on an acrylic easel to angle the product and show off its design. Photography pedestals elevate both the product and the entire image. Group pedestals of varying heights when shooting multiple products, and follow the rule of odds, arranging items in groups of three or five for visual interest.
Helpful Display Solutions: Display Cubes
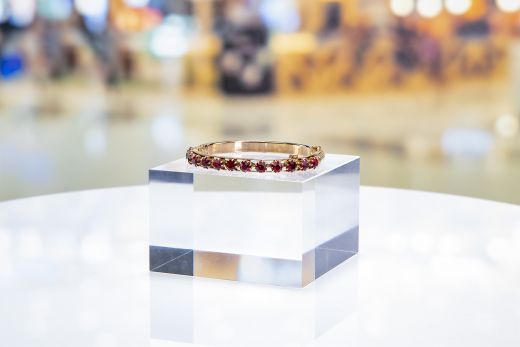
- Acrylic risers and display cubes elevate items to provide dimension and prevent them from blending in with other items or the background.
- Photography pedestals showcase products in a group setting or singularly when used to show a hero product.
Using Too Many Props
The Problem
While it helps to set a scene to tell a story, too many props can overwhelm the product and make it difficult for a shopper to determine what is being sold.
How to Avoid It
To keep the focus on your merchandise, follow a less-is-more approach. There are a few ways to do this.
Choose props intentionally. For instance, if you sell bags, arrange a beach tote on a beach towel or a clutch on a bedroom vanity with a lipstick alongside it.
Have props complement the product. Choose props that support the product rather than compete with it. Create a background that shows the product with like items. For example, skincare such as moisturizers and lotions stand out when surrounded by other self-care items like candles or flowers.
Helpful Display Solutions: Flat-Pack Displays
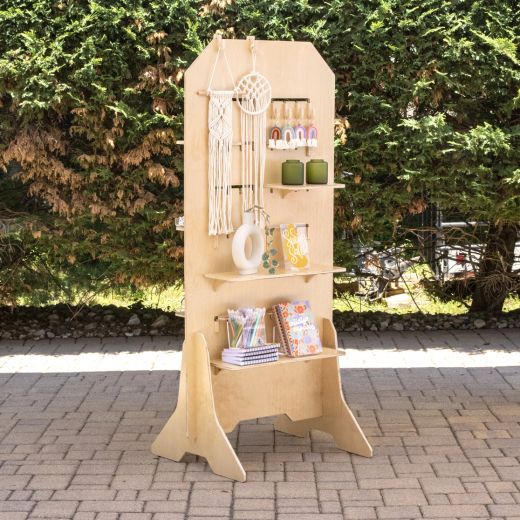
- Flat-pack displays, such as our Woodland Park Collection, are easy to assemble and store flat when not in use. For instance, a three tier countertop display can showcase items for a shot and when you’re done shooting, can be easily stored for next time.
Inconsistent Product Photography
The Problem
Utilizing different backgrounds, lighting, and angles for products on your site creates an unprofessional brand appearance.
How to Avoid It
Just like your branding, product shots on your ecommerce site should be consistent.
Develop photography guidelines to ensure a professional appearance that matches your brand. For example, determine your background and lighting, and depending on what you sell, decide on the best angle(s) to take of products. You may want to consider taking close-up shots to show details; a picture that shows scale; group product shots; and possible lifestyle shots that include props. By using the same or similar setups for all your product shots you’ll create a cohesive, professional appearance for your website.
Use the same background for each shot. For a simple, seamless, consistent background, try shooting in front of a white backdrop with two softboxes on either side of the product. Fill in with speedlights or continuous lights. You can also use a product tent to isolate smaller products.
Helpful Display Solutions: Standardized Pedestals
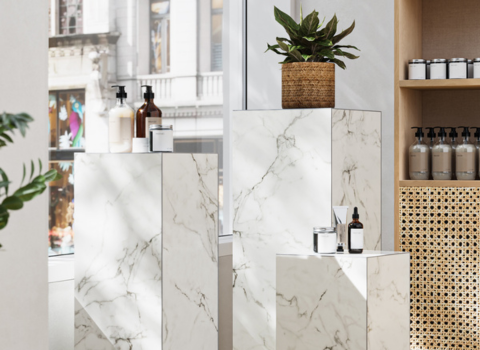
Standardized pedestals and display stands help maintain a consistent look across product lines.
Ignoring Product Details: Product Photography Mistakes
The Problem
Customers can’t see the key features of your product, causing a lack of confidence in clicking the key to purchase.
How to Avoid It
Make sure important product details are captured in your images by photographing your product from multiple angles and including close-up detail shots. You want your images to highlight the textures, finishes, and craftsmanship of the merchandise. Use the macro setting (or a macro lens if using a smartphone) to photograph items closeup.
Helpful Display Solutions: Jewelry Displays
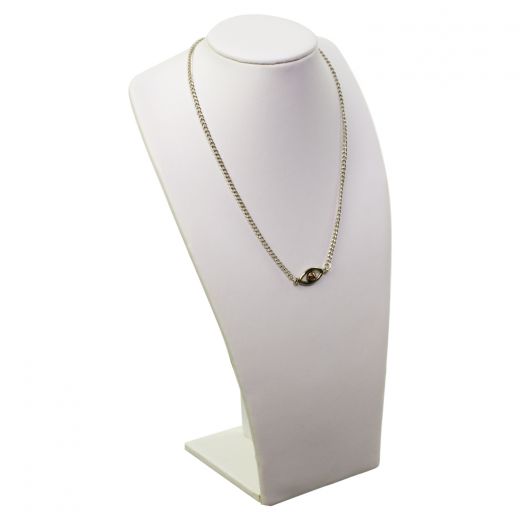
- Acrylic risers will elevate items so you can capture items in 360 degrees.
- Jewelry display stands, such as a necklace display or watch display make it easier for your product to take center stage.
- Mirrored cubes create a reflection that showcases more details of your product and its packaging.
Poor Product Placement and Composition
The Problem
Awkward framing or poorly placed items can create unbalanced images, making it difficult for the consumer to focus on the product that’s for sale.
How to Avoid It
Applying basic composition principles help direct viewers’ attention and correct poor product placement in a photo. These principles include framing your subject; creating centered compositions for symmetry; and when shooting a grouping, arranging items in odd numbers for visual interest.
Use the rule of thirds. Whether you are shooting products outdoors or against a backdrop, use the rule of thirds to place your product rather than centering. Turn on your camera’s grid in settings on a digital camera or smartphone. Align vertical products and displays with the vertical lines on the grid and align horizontal elements along the horizontal lines. If using people to model your products, position their eyes on one of the top intersection points of the grid. Using the grid also helps you center the product in the frame when you want symmetry.
Helpful Display Solutions: Display Pedestals & Risers
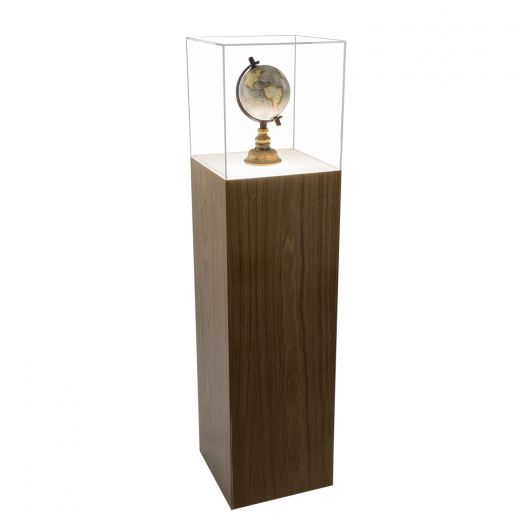
- Display pedestals and risers help establish focal points that draw your customers’ eyes to the merchandise. They also help position products when needed to be elevated for the camera or when arranging multiples products and props in a grouping.
Forgetting About Reflections and Shadows
The Problem
Some products, such as those with glossy or metal surfaces, are inherently difficult to shoot, resulting in unwanted reflections and distracting glares.
How to Avoid It
Avoid backlighting, which can cause reflections. Instead, adjust lighting angles so that your primary light source is at a 45-degree angle to the product you’re shooting.
Place lights overhead and on the sides of the object to help define objects that are shiny and reflective and help reduce glare. Another option is to use diffusers, such as a white bed sheet covering windows, to soften the light and minimize glare on glossy surfaces.
Use a light cone when shooting smaller products. A light cone can also help diffuse light and prevent reflections from shiny objects.
Helpful Display Solutions: Countertop Displays
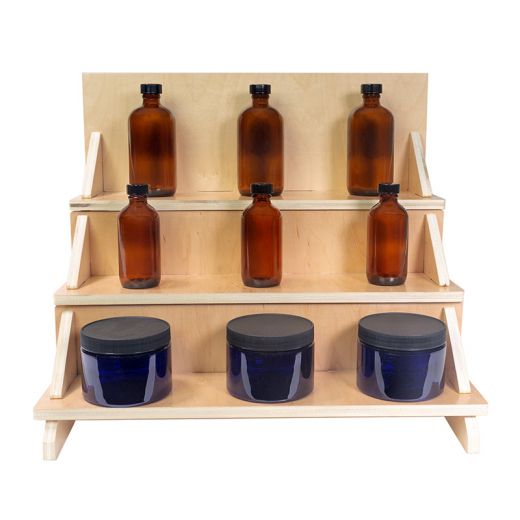
- Matte display stands can help minimize unwanted reflections. Without the glossy finish, light is absorbed and doesn’t reflect or cause shadows. Wooden displays such as wooden display table or a 3 tier countertop step display can help showcase items without glares and reflections.
Not Matching Photography Style to the Brand
The Problem
Images feel disconnected from brand identity.
How to Avoid It
Product photography should be an extensive of your brand. It should help your products stand out while maintaining or strengthening brand recognition. First, define the look you’d like to convey: clean and crisp, dark and moody, light and airy, bright and energetic, etc. The look may be defined somewhat by your products, but also consider color, composition, light, and mood of the images. Then select from different display solutions that will help you connect the photography style to your brand.
Helpful Display Solutions: Wooden Display Stands
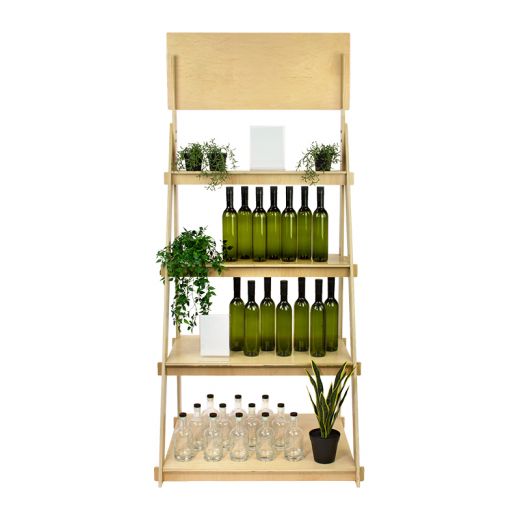
- Wooden display stands, such as those from our Woodland Park Collection, convey nature and are a well, natural, fit for organic or health- and beauty-focused companies. They also work well when shooting toiletries, candles, and other self-care items.
- Transparent acrylic risers work for a modern brand. Cutting-edge and forward-looking products stand out on acrylic risers.
- Mirrored displays, such as cubes and pedestals, lend an all-out glam look for luxury or high-end products, and elevate your photos as well.
Essential Photography Tools That Help Prevent Common Mistakes
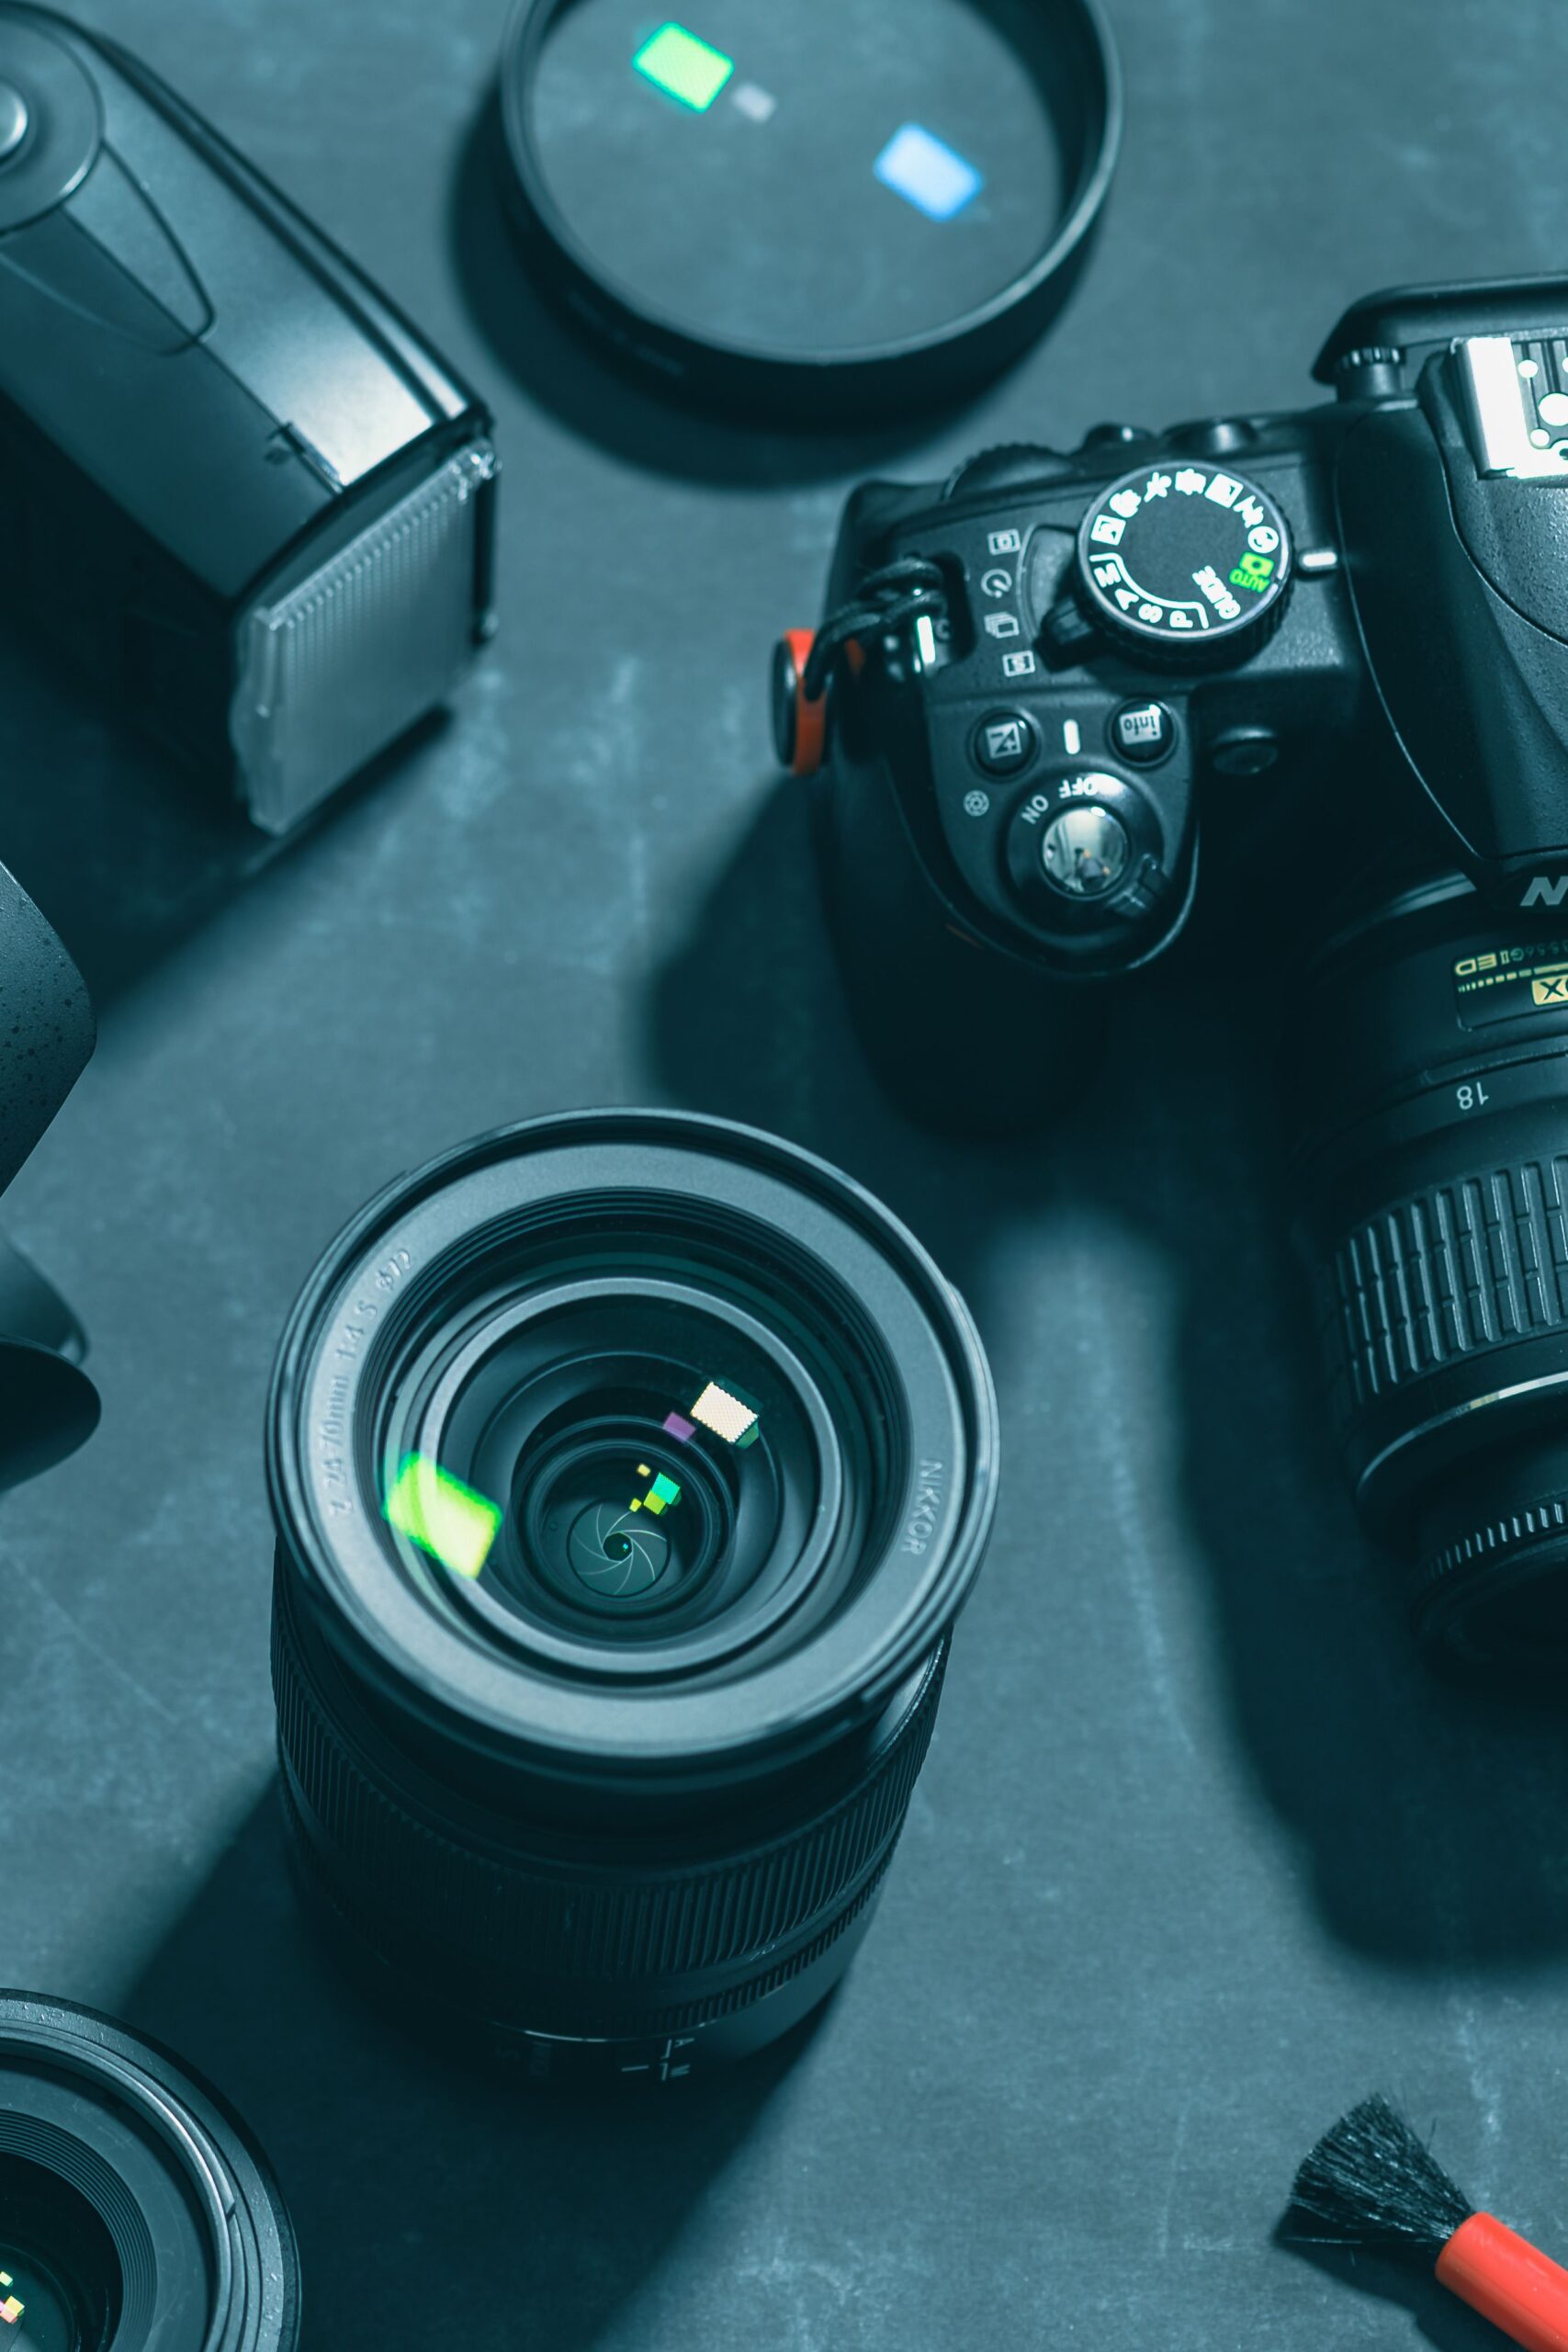
Camera, lights, and with these displays, action. At shopPOPdisplays, we have the essential tools to help prevent common product photography mistakes.
- Acrylic risers create height and add visual interest.
- Display pedestals draw the focus to your product.
- Acrylic blocks add varying heights and visual interest for shots with multiple products.
- Mirrored cubes can add reflections (the good kind!) to showcase more of your product and packaging details.
- Wooden display stands help match your displays to your brand and provide easy to store shelving for photo shoots.
- Background panels and surfaces provide a seamless, clean, and uncluttered background to keep attention on your products.
Conclusion
From bad lighting and busy backgrounds to composition and consistency, there are many product photography mistakes that can be made—many of which can be solved with proper planning, lighting, and display solutions. Explore shopPOPdisplays’ collection of photography display stands, risers, pedestals, and styling props. By utilizing these tools, you’ll create professional product photography that will boost ecommerce sales and strengthen your company’s brand.